![]()
CX Surround Assembly Instructions
For DIY end users and Golf Simulator Manufacturers
![]()

![]()
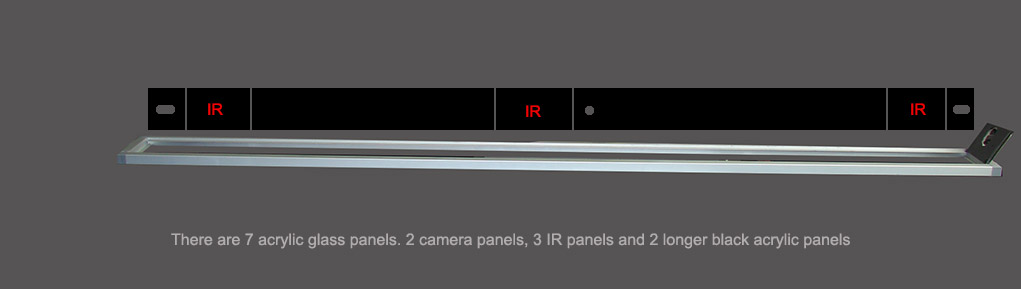
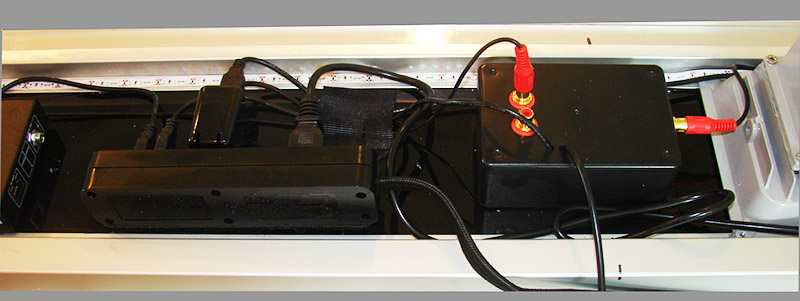
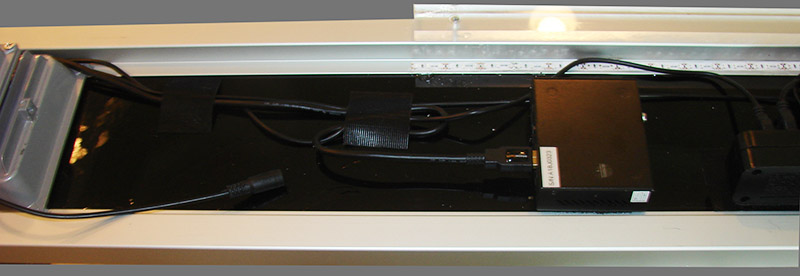
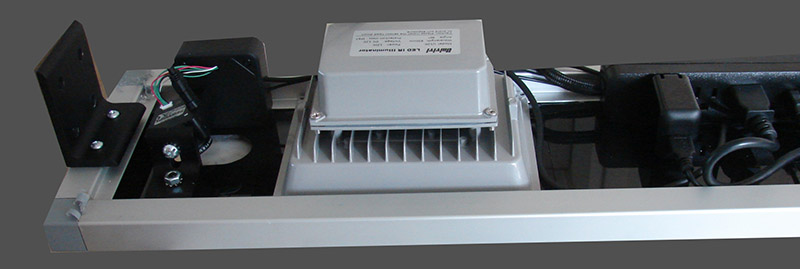
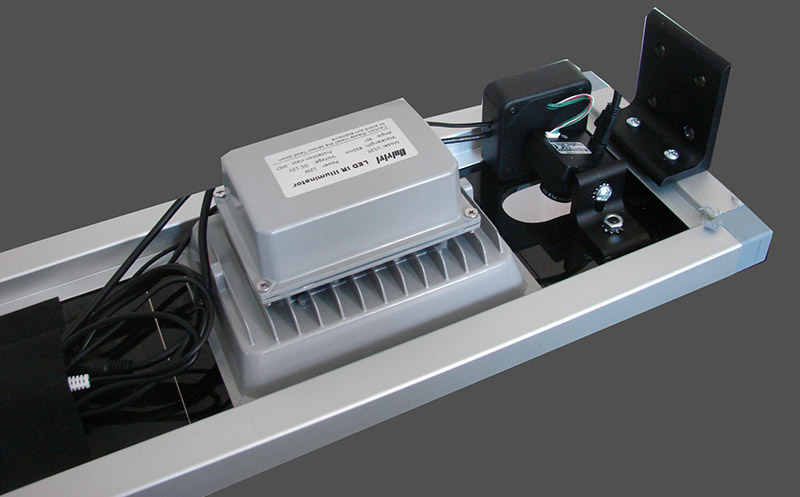
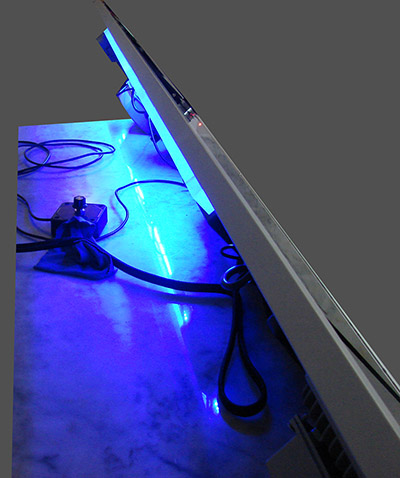
Assembly of the CX Surround starts with the basic 7ft long frame
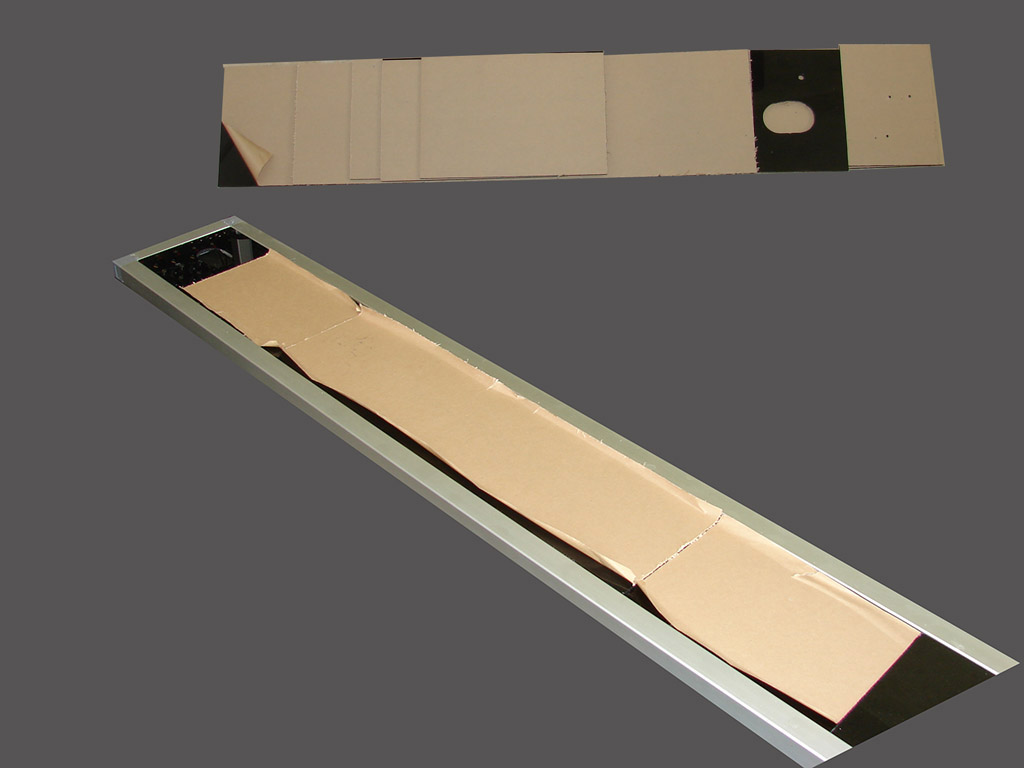
Pre-cut black acrylic and IR acrylic panels are two-component glued into the frame
Note that the protective sticky paper on the panels should be left on the outside of the panels (to prevent scratches and finger prints) but should be turned up on the edges
to prevent seeping glue attaching to the protective paper which makes removal very difficult.
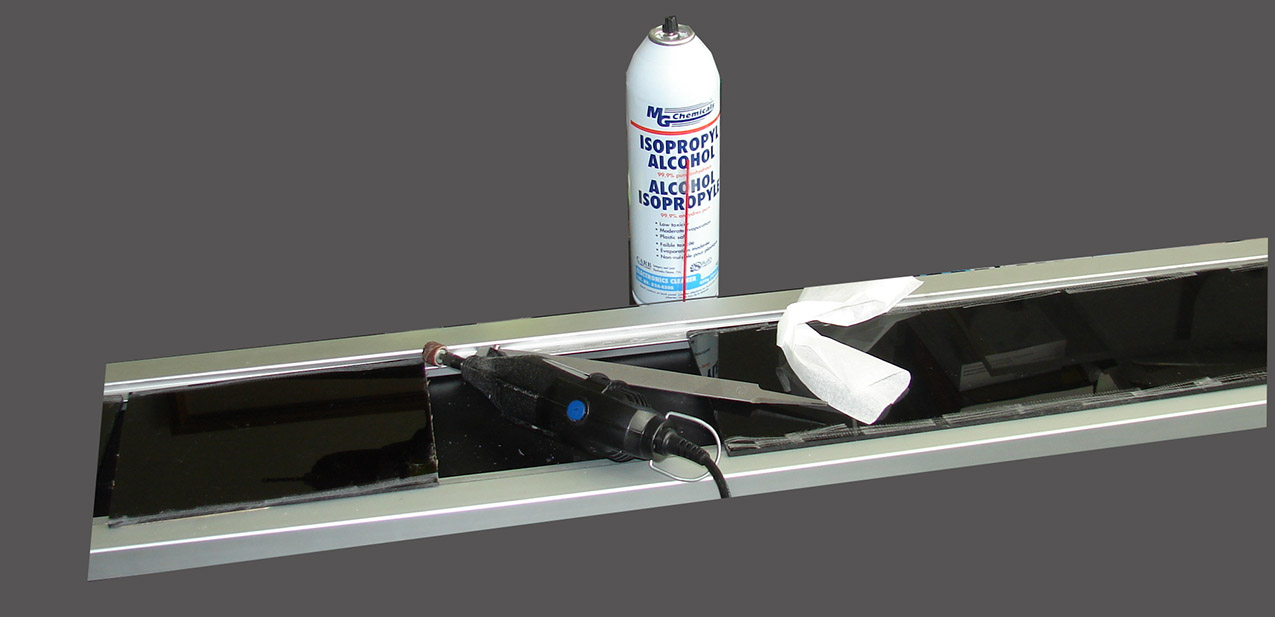
The back side edges of the acrylic panels should be roughened up for better adhesion.
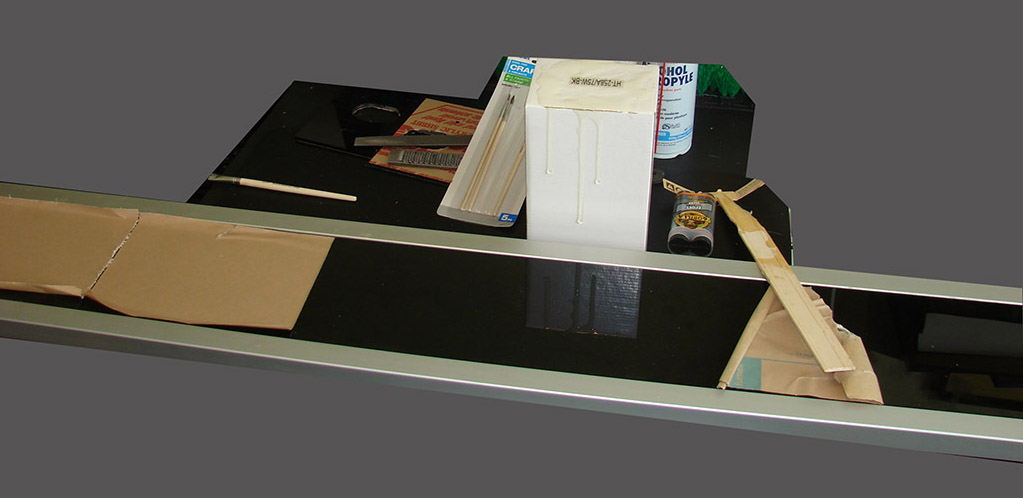
A brush can be used to apply the two-component glue to the frame edges and the acrylic edges.


Far more instructions to follow ...
![]()
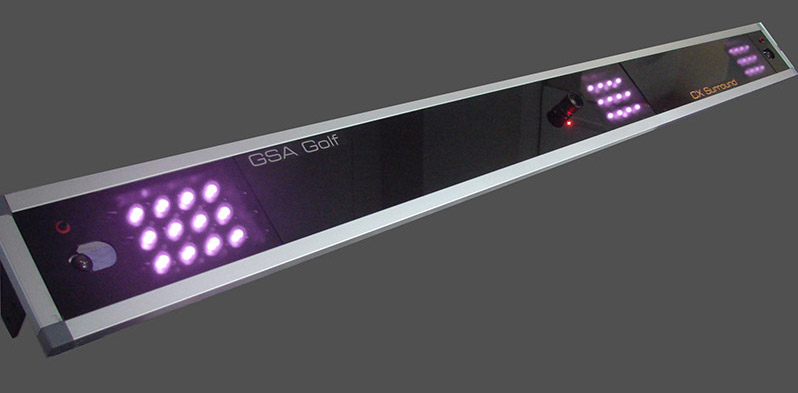
CX Surround kits
CX Surround kits are available on the Kits and Components page
Final kit prices for the CX Surround are yet to be determined.

Click above to read more about GSA Golf components
![]()
![]()

![]()
 Home
Home Sensors
 Cameras
 Software
 Enclosures
 GSA Courses
 E6 Courses
 Business
 Tech News