![]()

SSi camera driver installation
![]()
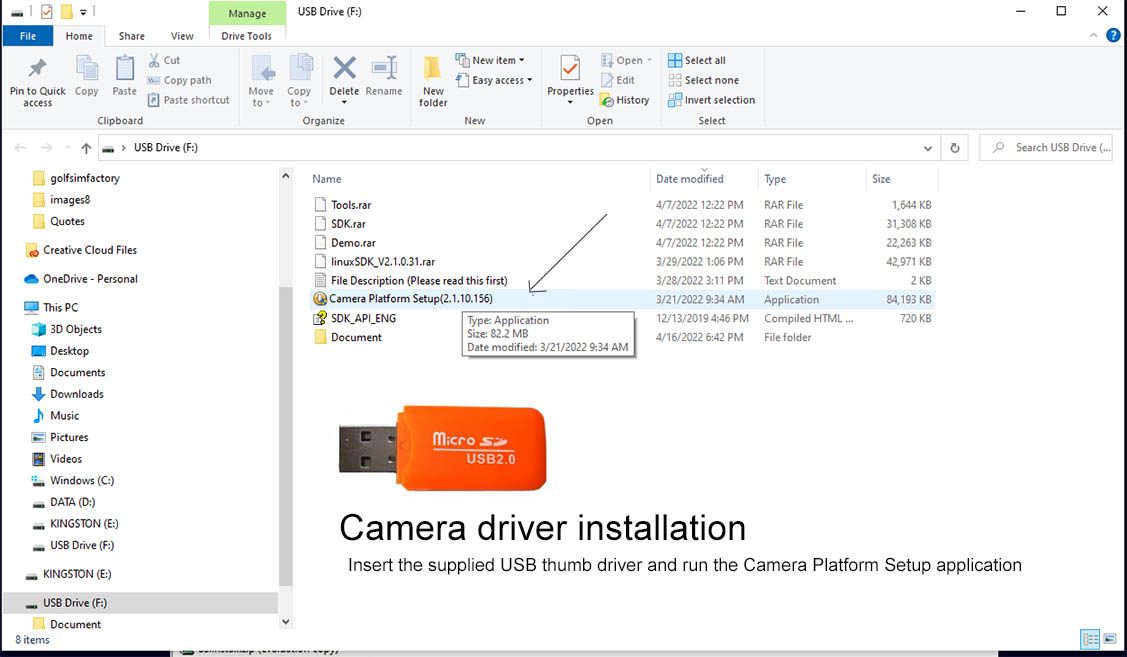
Step 1:
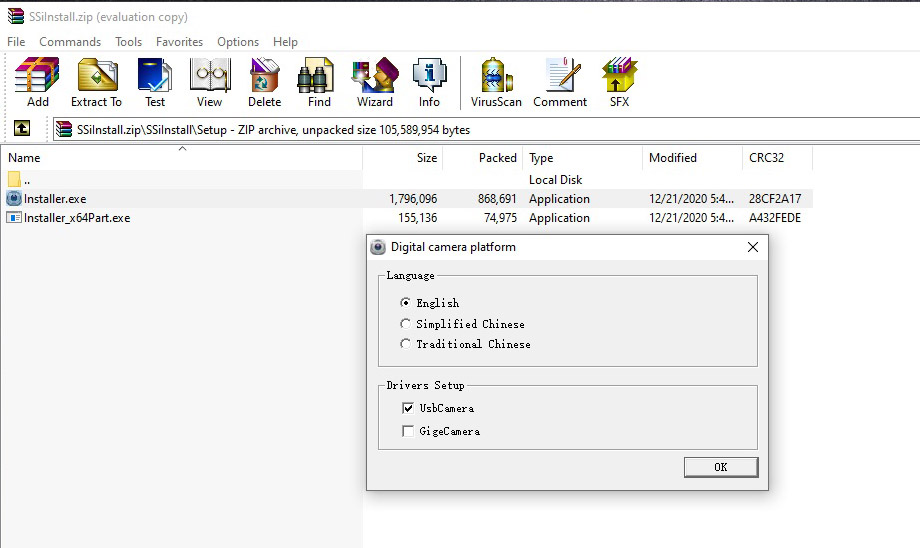
Step 2:
Select English
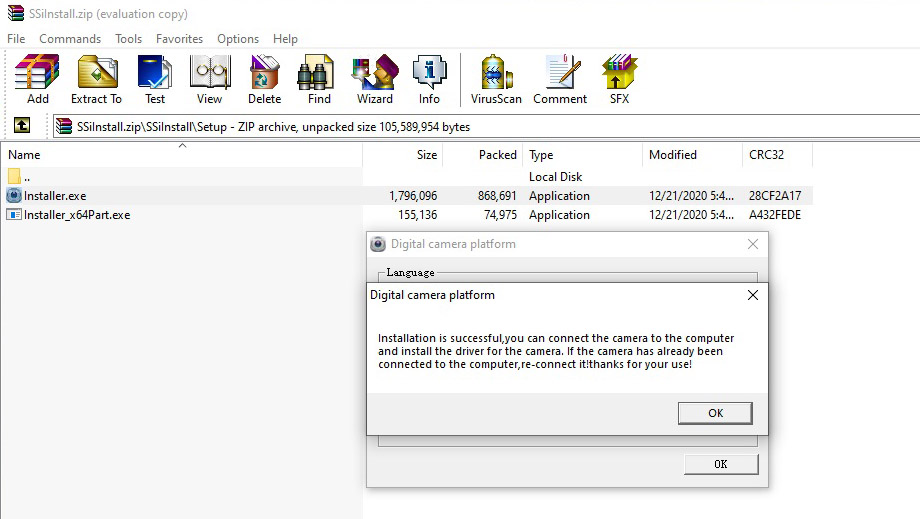
Step 3
After running, connect the camera(s) to USB3 ports on your PC
USB3 ports (Required)
Note: The cameras are USB3 cameras
and will only run at the correct speed when connected via USB3 cables directly to separate USB3 ports on the PC
Warning
If using 2 cameras, do not connect the cameras together with a Hub !
All cameras must be directly connected to separate USB3 ports on the PC
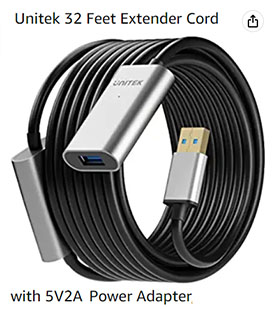
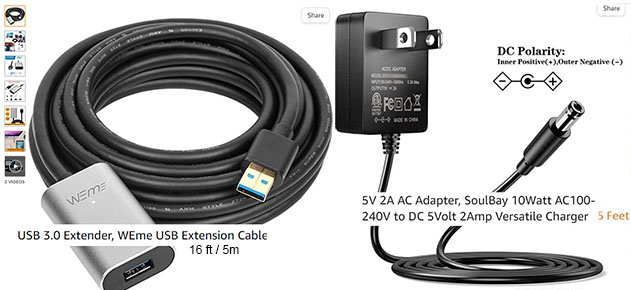
Use only powered USB3 extension cables if the supplied cables are not long enough
![]()
Testing the camera(s)
Step 1
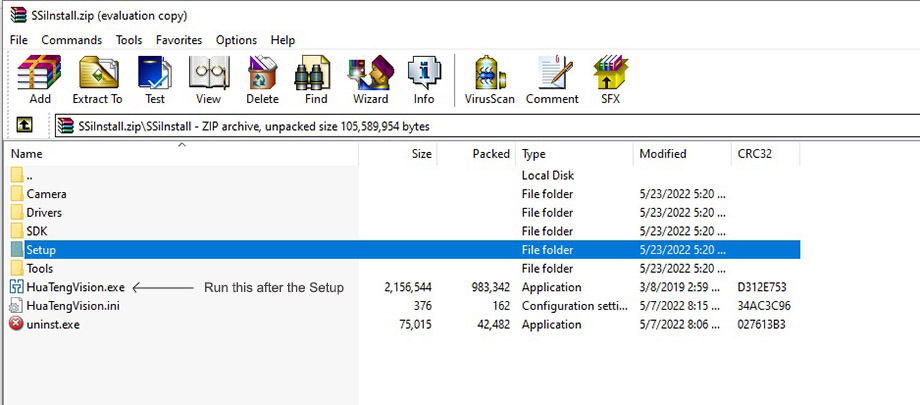
Run the "HuaTengVision.exe" application
(Right click on it to make a desk top link)

Depending on how many camera you have, you should see them in the Camera List after starting the application.
Step 2
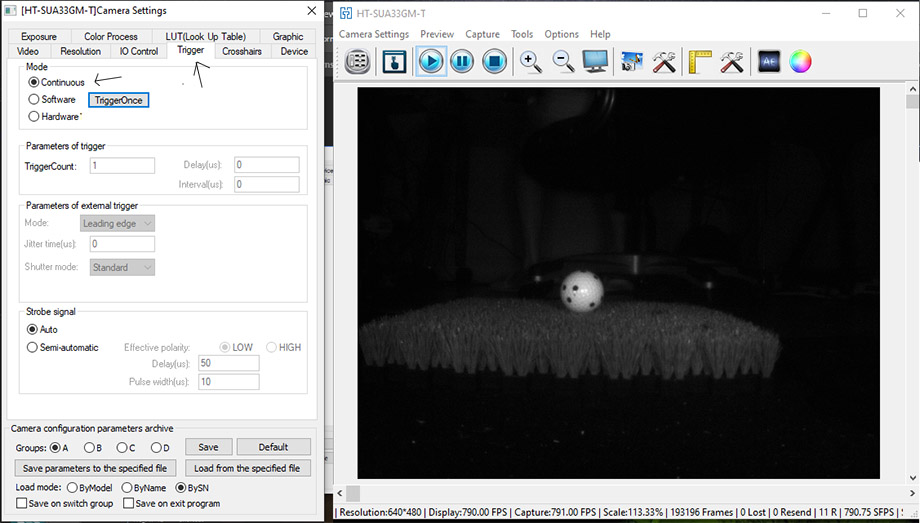
Select "Camera Settings" and select "Trigger" in the new Settings window
Then select "Continous" mode.
You should now see that the camera is capturing images
![]()
Checking the frame rate
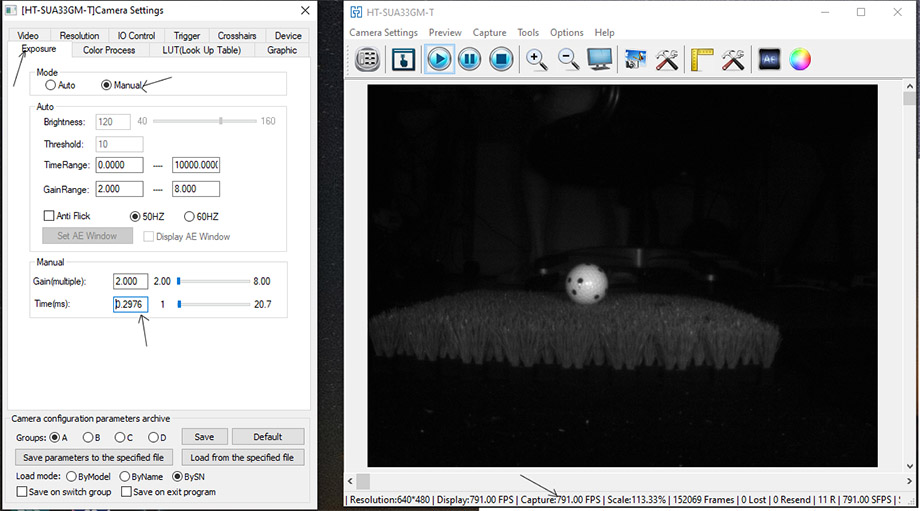
Select "Exposure" and set to "Manual" mode
Set exposure "Time" to 0.2976
You should now see that the camera is capturing frames at around 790 fps.
This is standard frame rate for the VisTrak systems - which is around the same as the Uneekor systems as far as we can tell.
Note that the VisTrak Control Panel will automatically set these settings for you.
Switching to 1500 fps frame rate
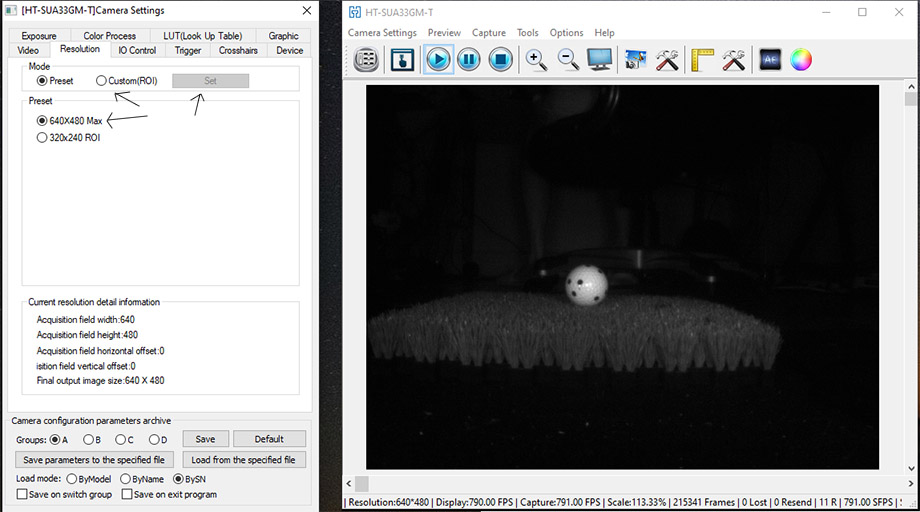
Select "Resolution" and select "Custom (ROI)" in the new Settings window
Then click the "Set" button.
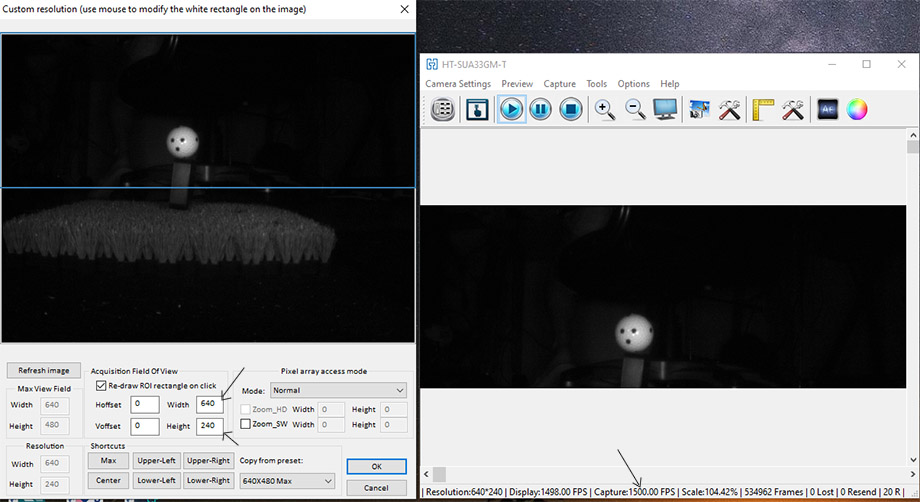
Set FOV "Width to 640" and "Height" to 240
You should now see that the camera is running at 1500 fps.
Note that the VisTrak Auto ROI (region of interest) won't work with this resolution.
This means you have to aim the camera directly at the ball hitting position and always play the ball from this position.
![]()

Click above to get back to Camera Installation
![]()

![]()

 Home
Home Sensors
 Cameras
 Software
 Enclosures
 GSA Courses
 E6 Courses
 Business
 Tech News