![]()
![]()

 -
- -
-
Installation and Setup Steps
Step 1.
Download and install the Control Panel Full version software from the link sent to you when your purchased your system

Important:
Download and Run the latest CP update after installing the full version from the tech news page
Step 2.
Install the camera driver software from the supplied USB drive

Click the above button for detailed camera installation instructions
Step 3.
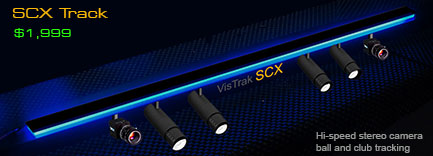
Mount cameras as per the instructions of your specific system
(i.e. SCX, EVi, Eagle or LX) and connect the cameras to USB3 ports on your PC
Step 4.
Start the Control Panel and ensure that both cameras are running
(i.e. there's no error messages and you see the message that 2 cameras are running)
Step 5.
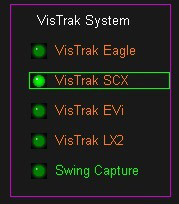
Go to the Setup panel and select Vistrak EVi / SCX / LX2 or Eagle (depending on what system you have)
from the list of systems on the right hand side of the screen
Step 6.
Go to the camera 1 panel and right click on the "Defaults" button to set all settings to their default values.
Step 7.
With a ball placed on its normal launch position on your mat,
select the "Show Full Ball Frame" option and the "Video Stream Mode" option and aim the camera so that it appears close to the center of the screen
Important: switch to GSA /Prox or GSA Single course or GSA API during the setup procedure
Important!
Only aim cameras when in "Full Ball Frame" mode
Do not try to aim cameras when not in full frame mode
Step 8.
Do the same for camera 2.
Step 9.
Set the scaling factor
Step 10.
Click on the Start Cameras button in the Control Panel's main window and wait a second or 2 until you see the message " ball detected, ready for swing"
You are now ready to play the ball
Step 11.
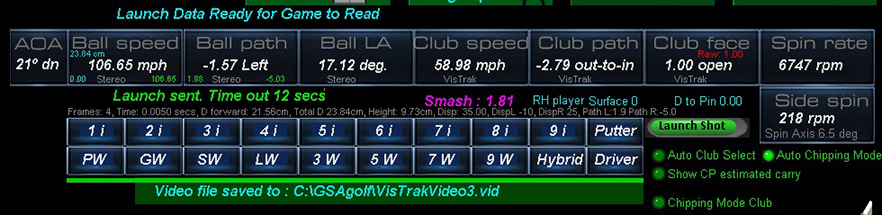
after a ball strike, you should see the message "Ball launch Data Ready for Game to Read" message
Step 12.
Start you golf game software (E6, GSpro, TGC, CG3d or GSA Golf) and click the large minimize button at the top right of the screen .
You are now ready to play a round.
![]()

Steps 1, 2
SSi camera driver installation
Click above button to read
![]()
Step 3
Mount cameras as per the instructions of your specific system (i.e. SCX, EVi, Eagle or LX)
 -
-
 -
-
and connect the cameras to USB3 ports on your PC
![]()
The CP's main window
Step 4.
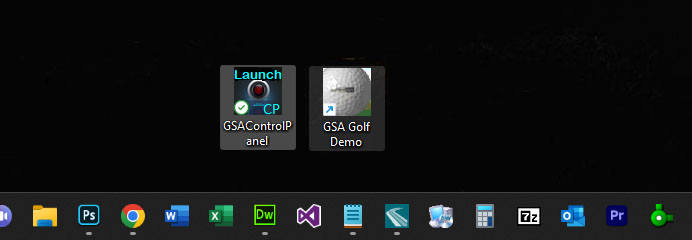
Click on the Launch CP to start the Control Panel
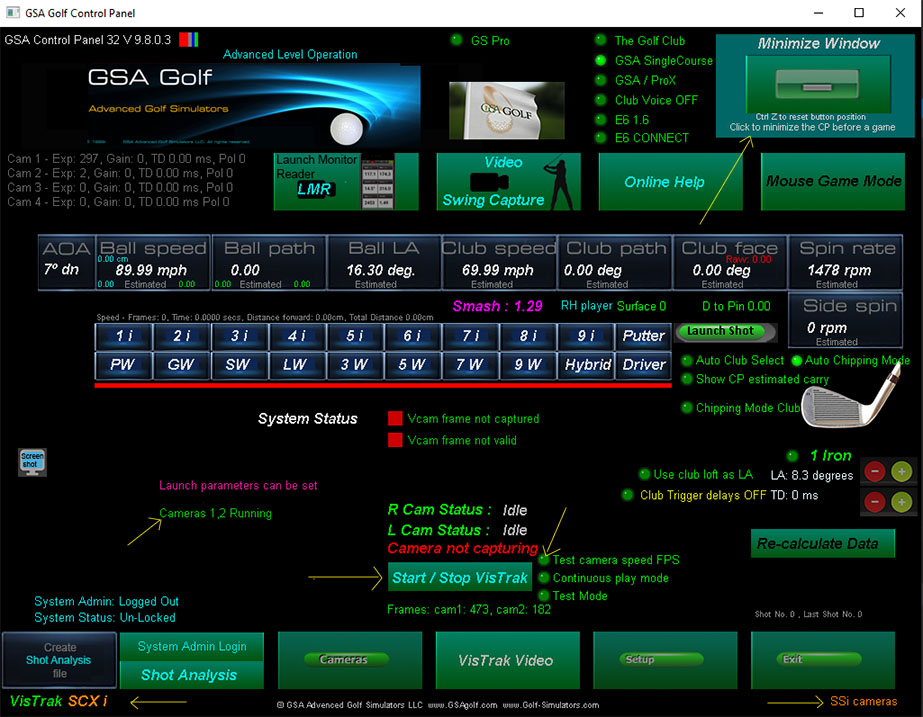
After the camera drivers are installed and you start the Control Panel (CP) with the cameras connected to the PC
you should see that cameras 1 and 2 are running.
(cameras 1 running only if using a single camera system like the Eagle)
![]()
The CP's setup panel
Step 5.
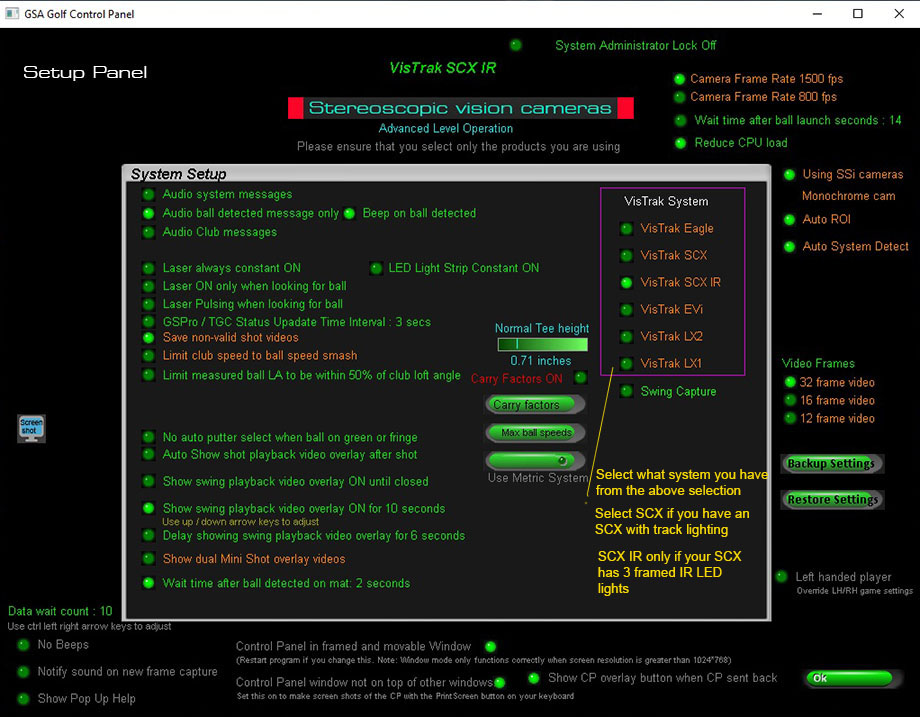
Go to the Setup panel and select Vistrak EVi / SCXi / LX2 / Eagle (depending on what system you have)
from the list of systems on the right hand side of the screen
Ensure the option " Using SSi cameras" is selected ON
![]()
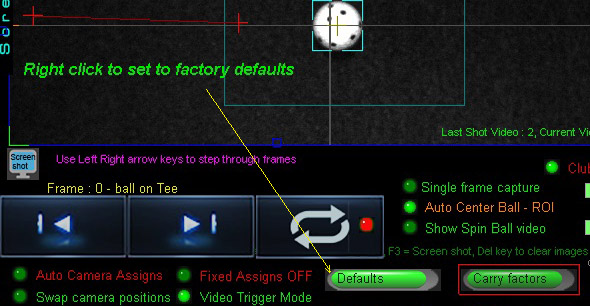
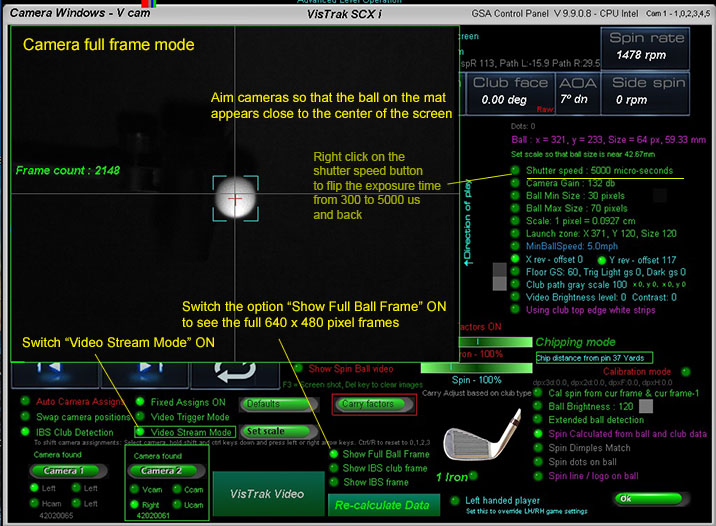
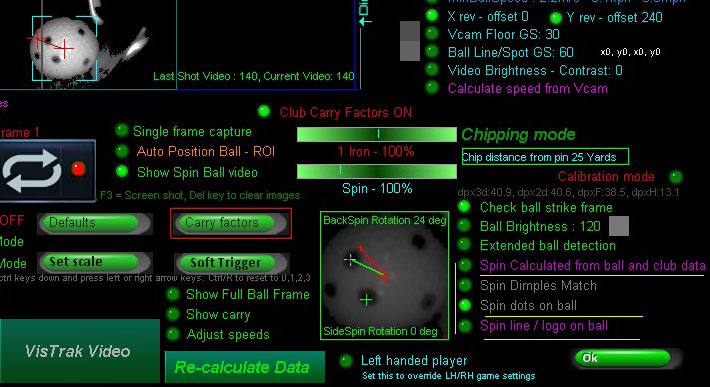
The CP's camera windows
Step 6
Go to the cameras panel from the CP's main window
Right click on the "Defaults" button in both cameras 1 and 2 to set all settings to their default values.
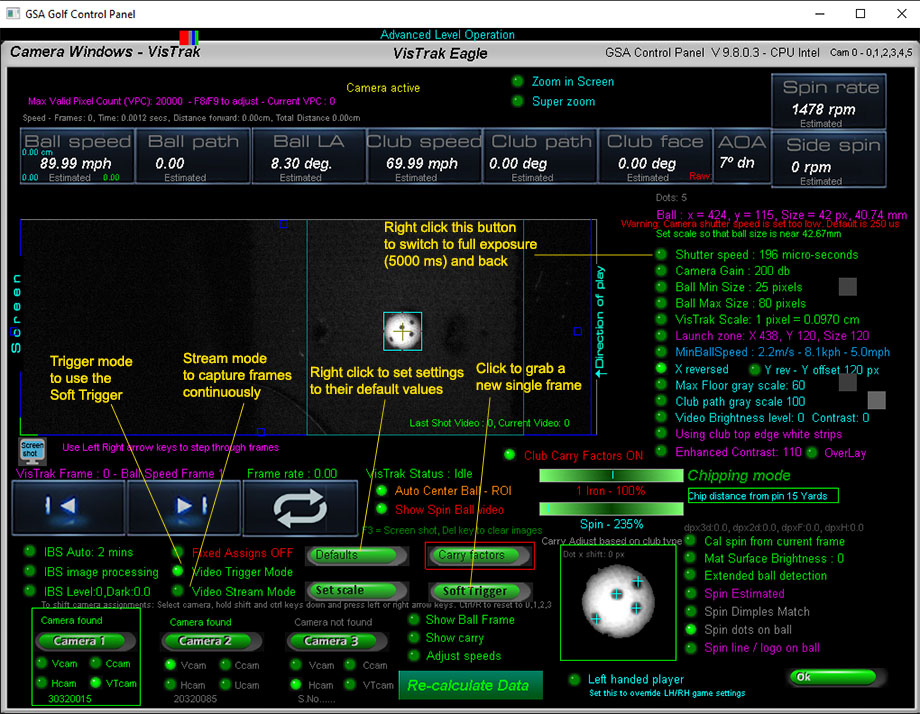
![]()
Step 7 and 8.
Checking the camera aiming
With the "Show Full Ball Frame" and "Video Stream Mode" options switch on in the camera window,
ensure that the ball in both cameras appears approximately in the center of the images as shown above.
It doesn't have to be exact as the cameras will position the ball automatically.
![]()
Step 9.
Set the scalling factor
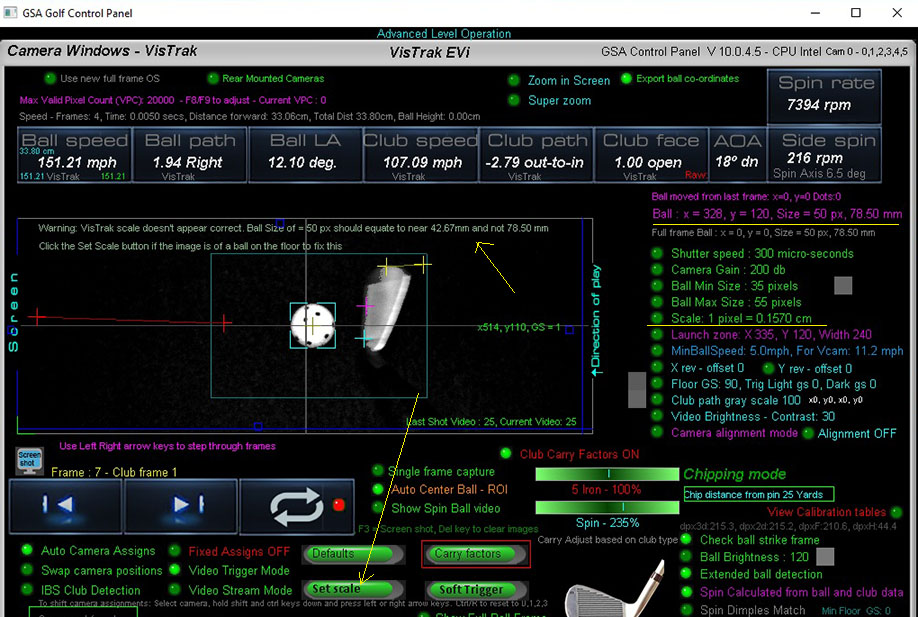
The scaling factor is used to convert distances measured in image pixels (as the camera sees them)
to real world distances measured in cm.
As a reference, the fixed diameter (42.67mm) of a golf ball is used.
To set the scaling factor, place a ball on the mat and click the soft trigger in camera 1 panel.
Ensure that the ball has been correctly detected (as shown above with the aqua blue box lines around it)
and then just click the "Set Scale" button.
The scaling factor is then stored and shouldn't require any more adjustments.
![]()
Step 10.
Click on the Start Cameras button in the Control Panel's main window
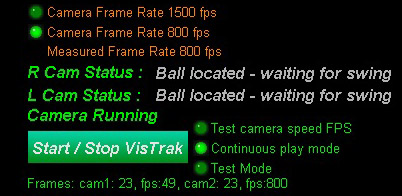
and wait a second or 2 until you see the message " ball located, waiting for swing" and/or hear the ball detected beep sound

The CP's status messages.
After clicking the Start / Stop VisTrak button or clicking the Minimize button,
the CP will start looking for a ball in the Launch Zone area.
When a ball is detected, a beep will sound.
If a valid shot has been detected, the system will send the shot data to the game software.
After the ball has landed, the CP will automatically cycle back to the Looking for Ball mode
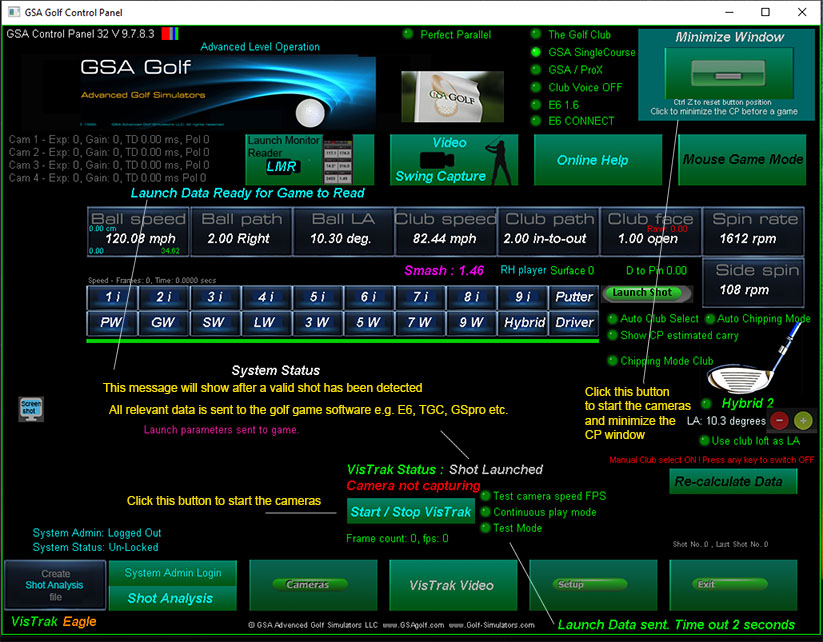

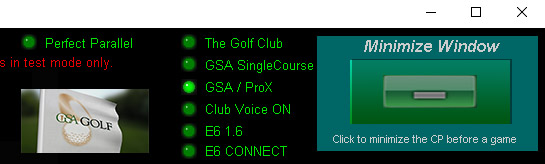
After Clicking the large "Minimize Window" button in the CP,
2 small buttons will show at the top left hand side of the game software.
Click on the minimized Control Panel to go back the full size CP window
Click Show Swing Video to see the last shot video
You are now ready to play the ball
Ball Spin Setup

Click above button to read how setup ball spin detection
![]()
Fault finding and Issues

![]()
Calibration

![]()
More helpful links...


Click the above buttons for more specific system information
![]()
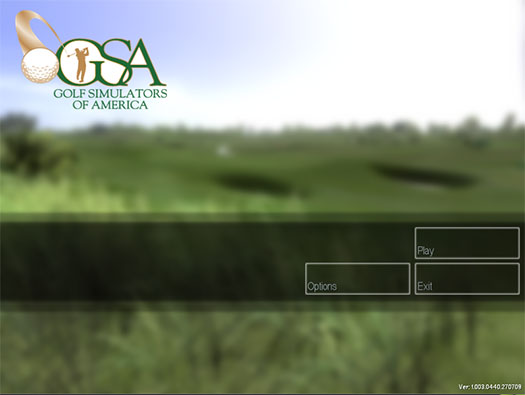
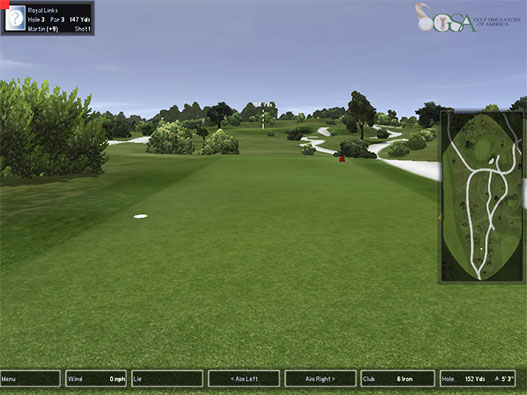
VisTrak Golf Game Play
How to play a golf game with the system
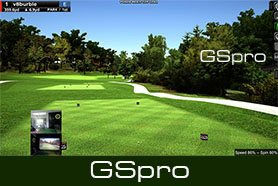
VisTrak interfaces with TGC (The Golf Club), GSA ProX, GS Pro, CG3D, RedChain, E6 1.6 and E6 Connect golf game software.
Select the game software you are using from the radio buttons at top right corner of the Control Panel's main window.
Click the large "Minimize Window" button to start the cameras and connect to the game.
Start your golf game application.
If you haven't already purchased any game software, you can use the supplied GSA 18 hole golf course demo software.
In this case, select the GSA Single Course radio button.
Then click the GSA Golf Demo icon from your PC's desktop

Fault finding and Issues
![]()
GSA Golf system minimum PC requirements
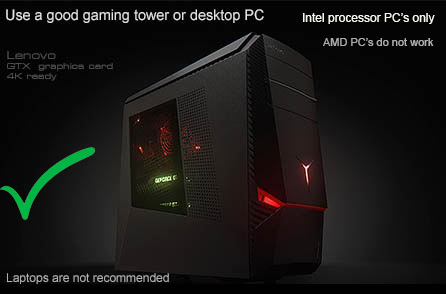
Intel i5 or above Processor
Warning! Do not use PC's with AMD processors!
8GB RAM Nvidia 1070 Graphics Card or equivalent
25GB of Hard Drive Space
Windows 10 or 11 (Required)
Internet Connection
(Required if using 3rd party game software such as E6, TGC or GSPro)
USB3 ports (Required)
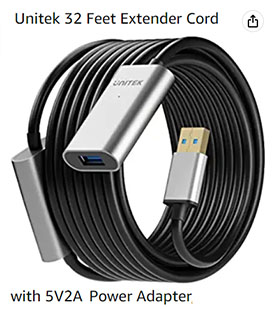
Note: The cameras are USB3 cameras
and will only run at the correct speed when connected via USB3 cables directly to separate USB3 ports on the PC
Warning
If using 2 cameras, do not connect the cameras together with a Hub !
All cameras must be directly connected to separate USB3 ports on the PC
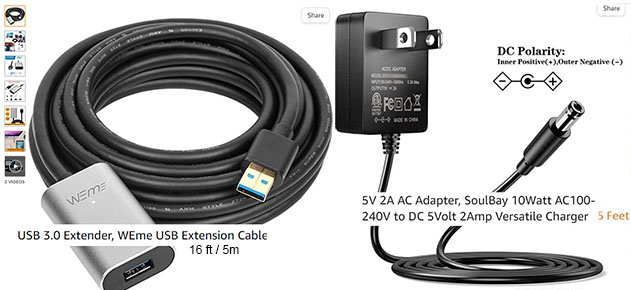
Use only powered USB3 extension cables if the supplied cables are not long enough
![]()
Technical Support
Shot Replay Videos
We often require users that have issues to send us shot replay videos and screen shots to fix issues.
Go to the Shot Replay Videos and Screen Shots sections on the VisTrak Installation page to see how to do this.


Email and remote access support is available for all original purchasers of GSA Golf systems.
E-mail support is free of charge for all original purchasers of GSA Golf systems.
Remote access support is available for all purchasers for $49 per session (max 1 hr per session)
Note that your 1 hour session can be divided up to 2 sessions of 30 min or 4 15min sessions
Remote support sessions are available 7 days a week (including weekends i.e. Sat or Sun) at 2pm ET
Remote access support requires that you have "TeamViewer" installed on your PC
Go to www.teamviewer.com to get your free team viewer installed
Buy GSA Golf remote support 1 hr session for
![]()

![]()
 Home
Home Products
 Cameras
 Software
 Enclosures
 ProTee
 E6 Courses
 Business
 Tech News